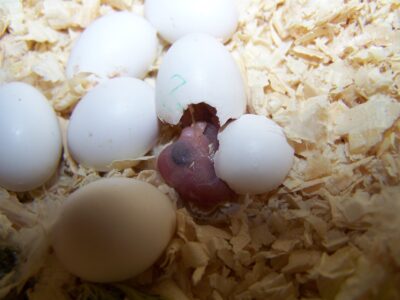
Candling Eggs
The process of candling eggs is an important way of seeing what is happening inside of an egg, before it hatches.  It is a way of inspecting the exterior of the egg with a flashlight or torch to determine the quality of the shell. It also provides information about the fertility of the egg, and the formation of the germinal disc and air sac. Good nutrition prior to breeding supports quality egg formation.
Cracks revealed in candling eggs allow bacteria to enter during incubation. Cracked eggs are likely to become infected, causing the embryos to die prematurely. During incubation, we can use candling to identify fertile eggs. It also allows the fancier to remove any clear or infertile eggs, after a given incubation period.
The Incubation Period
The first few days of incubation are the most essential for embryo growth. It is best not to disrupt the hen’s eggs during this time. After five days of incubation, you can start to see the viability of the embryo by candling eggs. This appears as veins forming inside of the egg. If an egg is viable after a week of incubation, the embryo will appear as a black patch. It can be likened to spider-like veins flowing out around it inside the eggs, visible using candling. Sometimes it isn’t possible to observe the embryo. This occurs in the centre of the egg or if the eggshell is thick or a darker colour.
If an egg is infertile, you will only see the yolk’s shadow inside the egg without the embryo or veins. Budgerigar breeders refer to this as a “clear” egg. If the egg is fertile and healthy, 18 days after incubation has started, the chick will hatch. It is quite normal for a hen to not start incubating until the second or third egg has been laid.
For the most up to date information on Candling Eggs, check out the BCSA Facebook community. For the most up to date information on budgies, check out What’s On.
